If you live in a climate that requires you to haul and stow your boat for the winter months, the turning of the weather in the spring is the best time of the year. The temptation to rip the cover off the boat and drop it in the water on that first warm, sunny day is strong, but it’s important to get your boat ready for the season first! Sitting on dry land in below-freezing temperatures is not what boats were made for, so making sure everything is in working order after being stored for winter is always a good idea.
In most cases it’s going to be easier to diagnose issues, make repairs, or replace equipment when the boat is on the hard than when it’s in the water on a mooring or in a slip. Plus, you want to be able to enjoy those first few days of boating season with family and friends, not spend them troubleshooting faulty equipment. So take the extra day or two, and prepare your boat properly to enjoy a long and trouble-free boating season!
How Much Does It Cost to De-winterize a Boat?
If nothing is in need of being repaired or replaced, most of the cost will come from doing annual motor maintenance (filters, oil, seals, etc.) and bottom paint. The cost of both those will vary greatly depending on the size of the boat and the type of engine as well as which type of bottom paint you use. Otherwise it will cost you only some of your time and basic cleaning supplies. 
How to De-winterize a Boat
Remove the Boat Cover or Wrap, Inspect, and Clean
Whether your boat has been stored in a cover, under a tarp, shrink wrapped, or uncovered indoors, it will always get dirty in the winter. If there’s moisture inside the cover or wrap, it’s also quite likely that you’ll find the beginnings of mold growth, so be sure to check and clean all the lockers, drawers and other nooks.
Check the Engine & Cooling System
Every type of engine from every brand has a recommended maintenance schedule, so be sure to consult the operator’s manual and keep up with recommended services like oil changes, filter changes, and so on. Beyond the recommended maintenance, do a visual inspection to look for things like worn belts, leaks and corrosion. If all looks well, hook up the colling intake to a water source, put water through it and run the engine to make sure it’s operating properly.
Check, Clean, or Replace Your Battery
It’s extremely common to find your batteries depleted after winter storage, so it’s always important to check them for voltage. If you do find them to be low, put a charger on them and check again. If they’re holding voltage, be sure to test them under load as well, as it’s common for worn out batteries to show a “surface charge” indicating that there’s proper voltage, but that voltage immediately drops out when put under load. If see any corrosion on the terminals, be sure to clean that up before reconnecting the cables.

Check Bilge Pump
Turn on your bilge pump to make sure it is working. This means not just hitting the switch and listening for it to come on, but actually pouring a little water in the bilge and making sure it gets pumped out.
Check Water Pumps & Flush Fresh Water Tanks
Turn on your water pumps to make sure they’re working properly. If you have a freshwater system on board, be sure to flush the tank if you put any antifreeze in there for winter. Even if you didn’t use antifreeze, it’s still a good idea to flush the tank and hoses of the water that sat stagnant for months.
Check Steering
Turn the wheel stop-to-stop to ensure the steering is functioning smoothly. If you have power steering, make sure it powers up and functions properly. If you have hydraulic steering make sure the system has enough hydraulic fluid and that it has been
Check Safety Gear and Navigational Lights
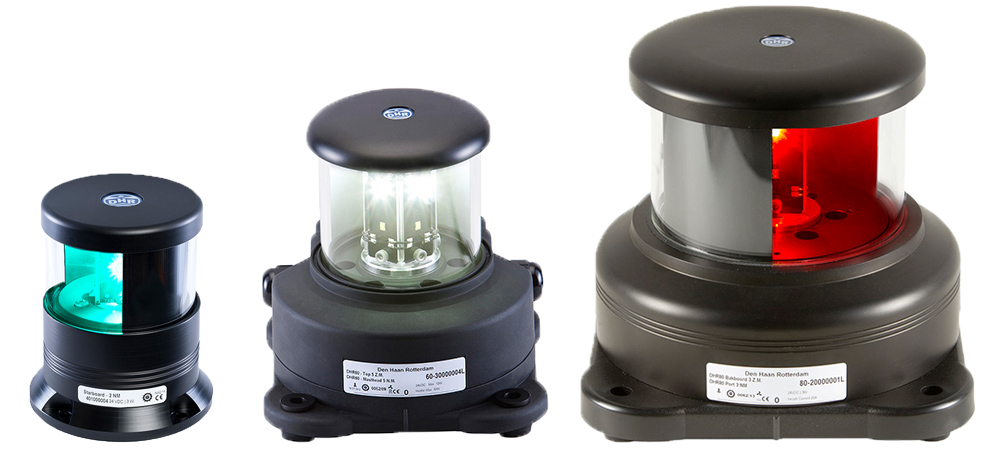
If you removed any safety gear from the boat to store at home, like life preservers, flares or fire extinguishers, always make sure to put it back on board before launching for the season. In the case of flares and fire extinguishers, be sure they’re not expired and purchase new ones if they are. It's also a good idea to turn the navigation lights on and make sure they're all working properly.

Check Cables and Hoses
Always be sure to inspect all the cables and hoses aboard to boat to ensure there’s no cracking or fraying, and that no critters found their way aboard and chewed through anything.
Repaint the Bottom of the Boat
If your boat lives in the water, you’ll need ablative bottom paint to prevent marine growth on the underside of the hull. Depending on the type of paint you use and how long the boat spends in the water, you may not have to do this every year, but in most cases, ablative bottom paint will perform best with a fresh coat every year.
Replace Anodes
Regardless of whether the anodes on your boat are zinc, aluminum or magnesium, they should be replaced at least once annually. Doing it with the boat out of the water is always easier, so be sure to change all the anodes your boat has, whether that’s on the engine, rudder, bow thruster or anywhere else.
Reattach Electronics and Accessories
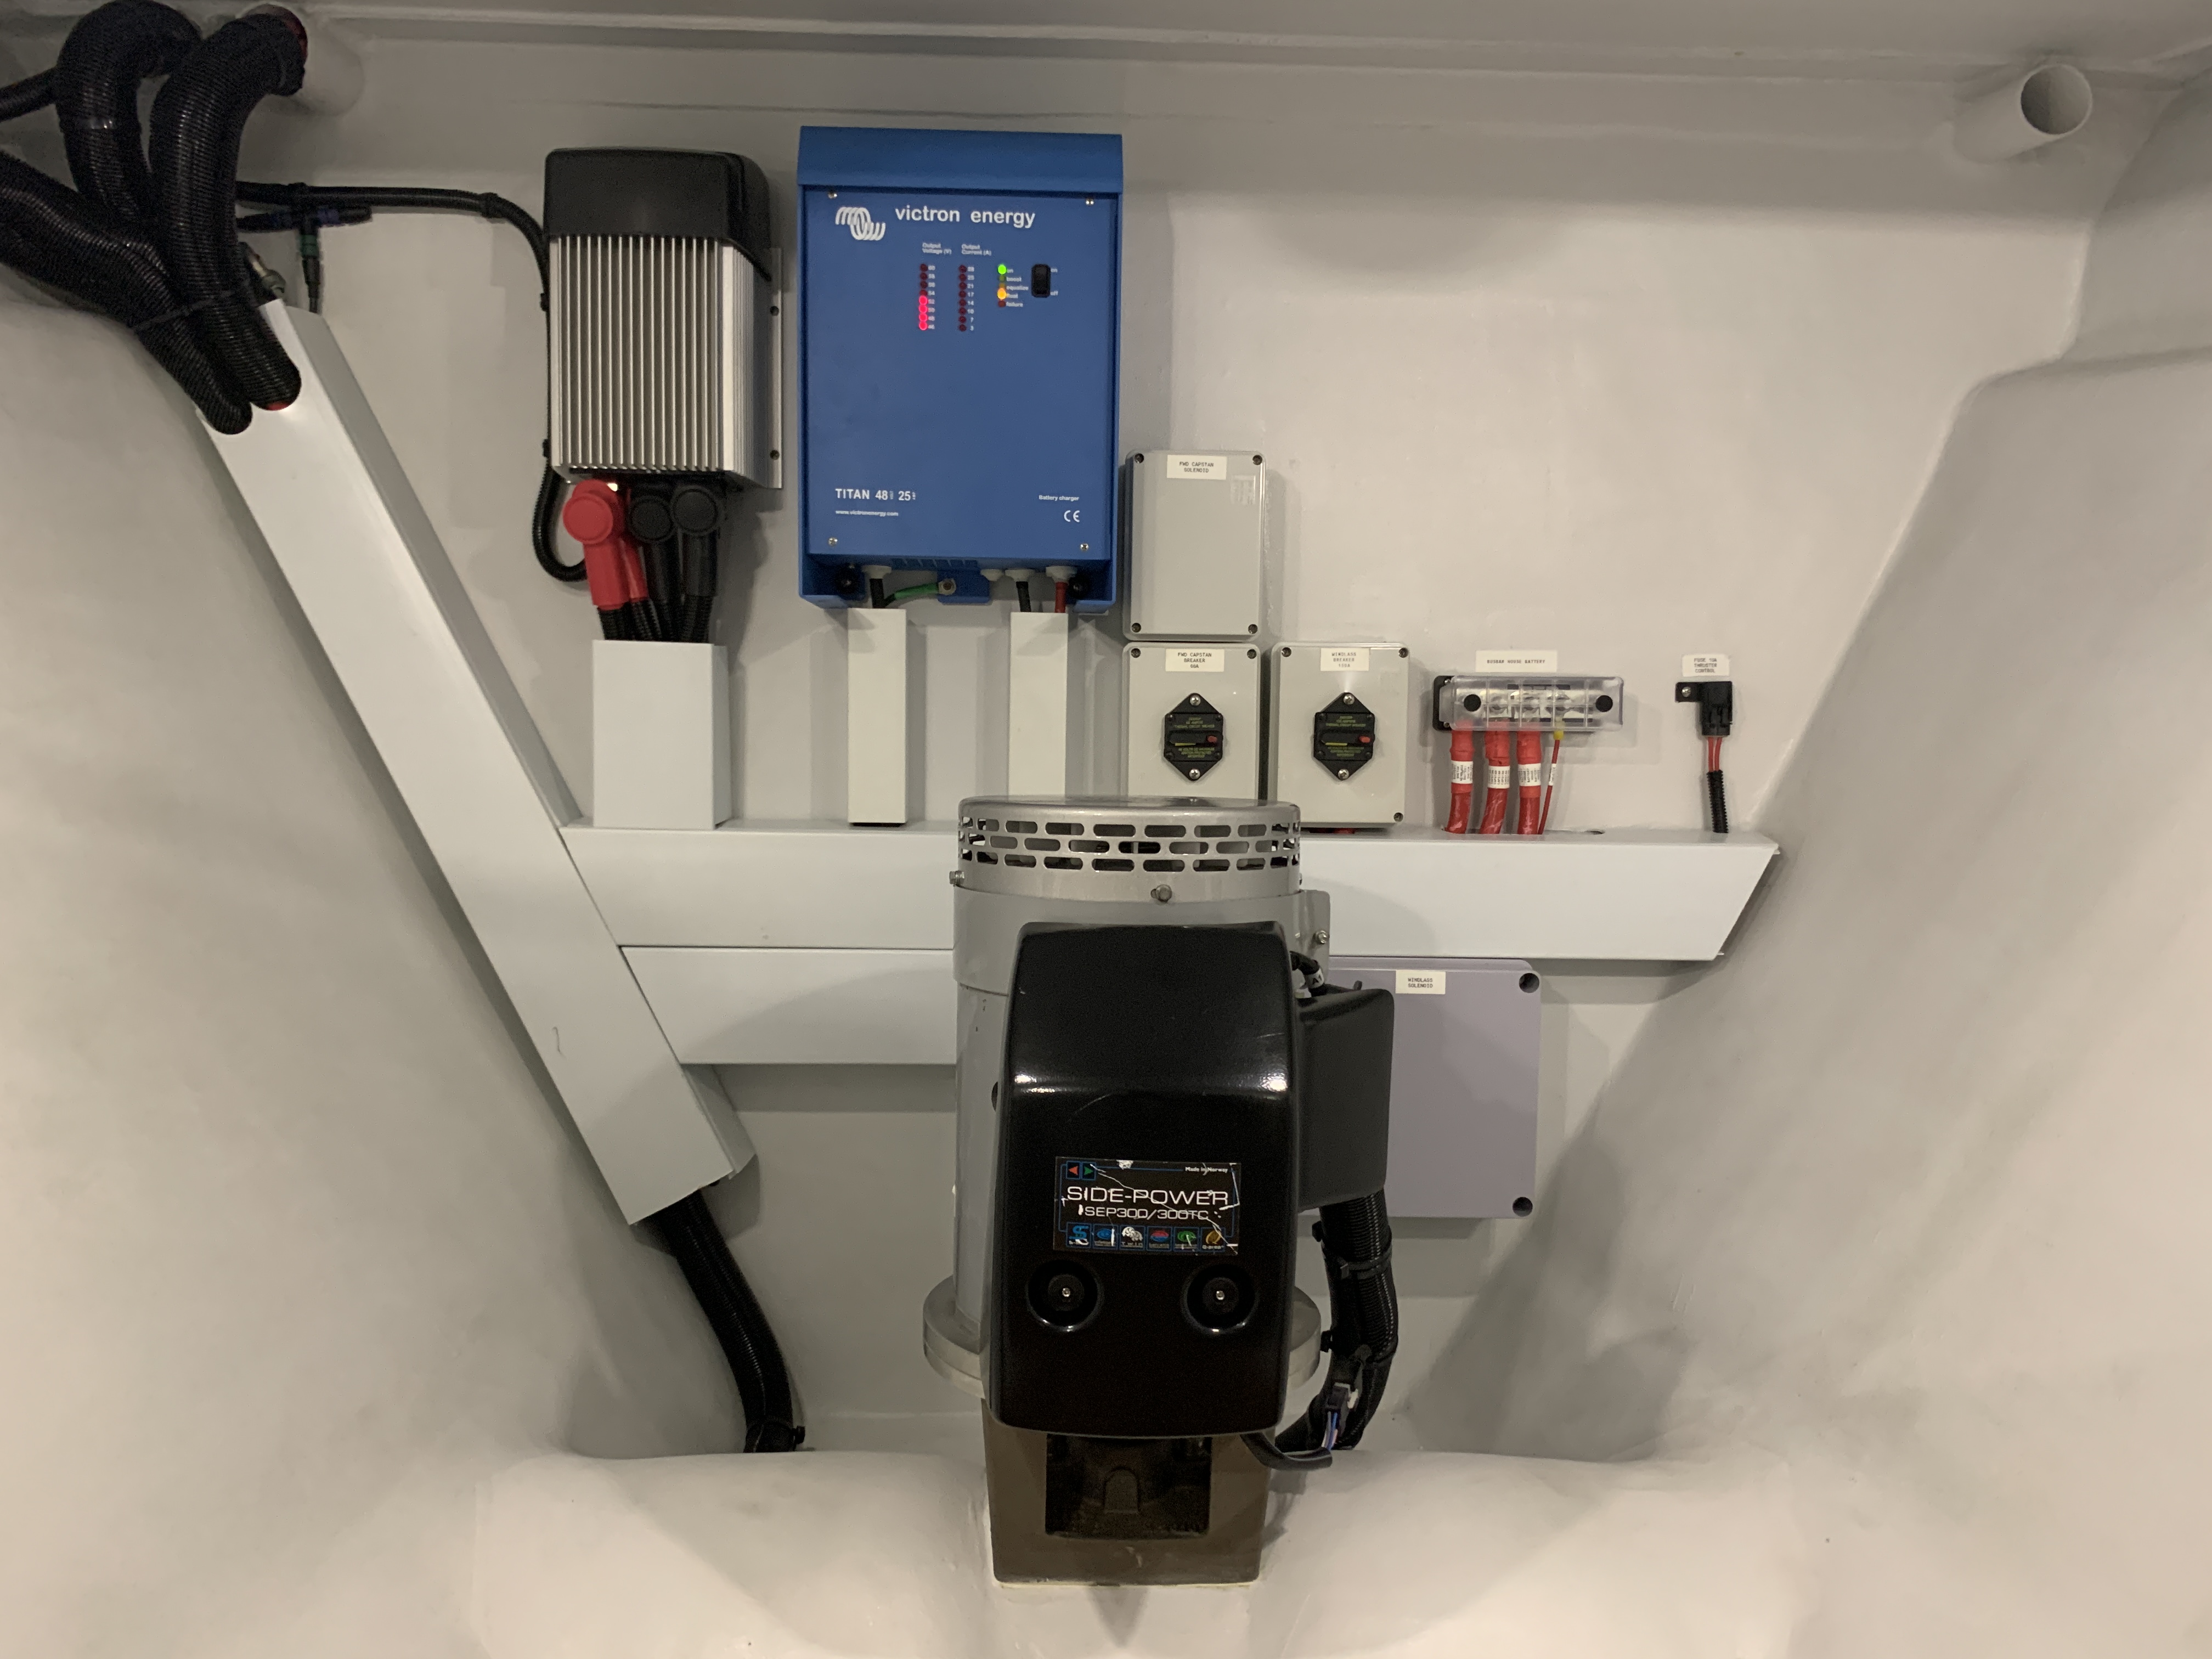
If you’ve disconnected anything from its power source for the winter, like your multi-function display, bow thruster, windlass, etc. be sure it’s reconnected and turns on before launching.

Polish and Wax
Give your boat some shine before it goes back in the water! Beyond just looking better, taking good care of your boat’s paintjob or gelcoat will extend the lifespan of the paint or gelcoat, and protect the fiberglass underneath.
Check the Trailer
If your boat is trailered, make sure the trailer is in good condition. Hook it up to your vehicle and make sure all the lights work, the brakes work and the wheels are greased.
Final Thoughts
All these tips are general guidelines for de-winterizing a boat and they apply to the vast majority of boats. However, it’s always a good idea to make a winterizing and subsequent de-winterizing checklist that is specific to your boat, the equipment you have on board and how you store it for winter. For more maintenance and troubleshooting guides, continue reading here!